


Guide / Artwork & design / Chapter 5.7
Designing the unboxing experience.
For online brands, opening the box is the first time a customer holds your product. Here's how to design an unboxing that feels like your brand, at any budget.
The short answer
A good unboxing is built in layers: the outside of the box, the first thing seen when it opens, how the product is presented and a small touch to finish. You don't need a fully custom box to start. A stock mailer box with tissue paper, a custom sticker and a thank-you card goes a long way. As you grow, a printed mailer box, from 25 units with digital printing, makes the whole experience yours.
The four moments of an unboxing
1. The outside
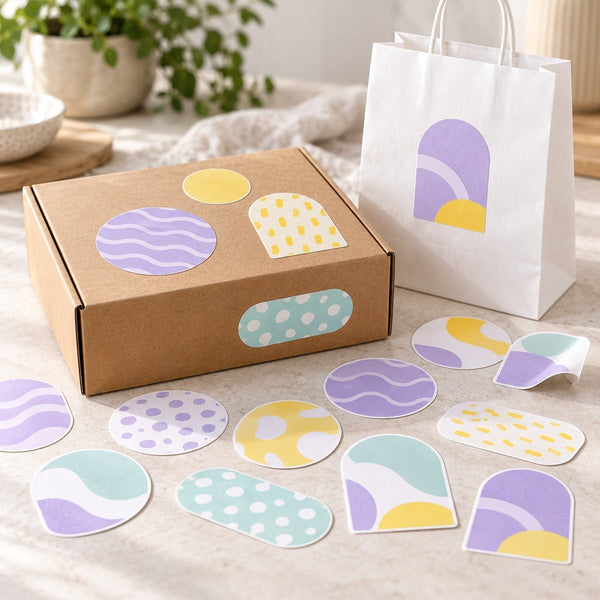
The box arrives at the door. A clean, well-fitted box, a printed logo or a branded sticker or tape tells the customer who it's from before they open it.
2. The reveal
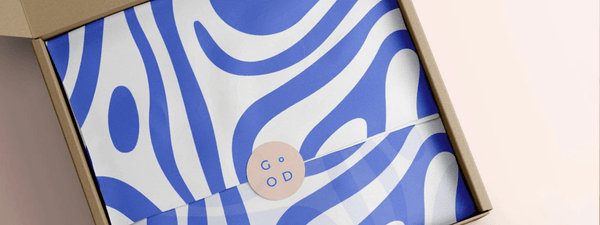
The lid opens. This is the moment to make an impression: tissue paper folded over the product, a sticker seal, or, on paperboard boxes, printing on the inside. We don't print inside corrugated mailer boxes, so tissue and a sticker do that job there.
3. The product
How the product sits matters. A snug fit, an insert or neat wrapping makes it feel cared for. A product rattling around in filler does the opposite.
4. The finish
A thank-you card, a care note, a discount for next time or a handwritten message gives the customer a reason to remember you, and to share it.
Unboxing ideas by budget
Choose a few that suit your brand. You don't need all of them.
| Idea | Effort | Effect |
|---|---|---|
| Tissue paper wrap | Low | Turns a plain box into a reveal |
| Custom sticker seal | Low | Branding from 100 stickers |
| Thank-you card | Low | A personal touch and a reason to come back |
| Custom printed tissue | Medium | Your logo in every order, from 250 sheets |
| Custom packaging tape | Medium | Branded from the outside, from 10 rolls |
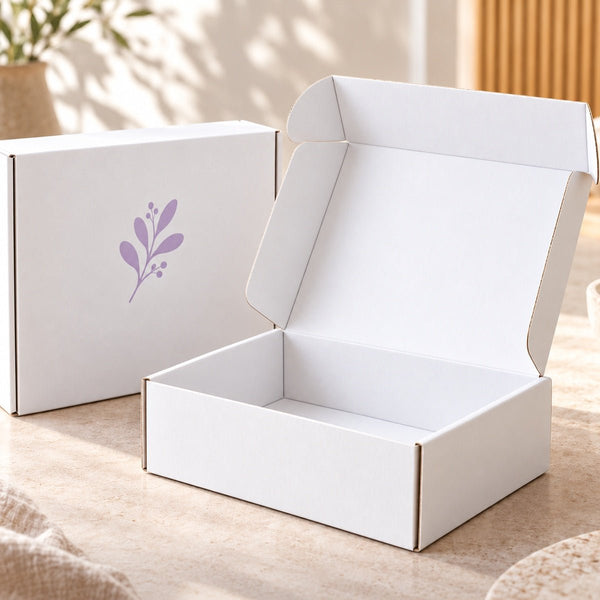
| Printed mailer box | Higher | Your brand on the box itself, from 25 units |
Keep it practical
A memorable unboxing still needs to protect the product and be quick to pack. Choose touches your team can repeat on every order without slowing down dispatch. Every extra layer adds a little time and cost, so keep the ones customers notice most.
What it means for you
The same question, answered for where your business is today.
Choose your stage at the top of the page to open the advice for you.
Start-up · under 100 units
Start with a stock mailer box, tissue, a sticker and a card. It looks considered without a big spend, and you can change it as your brand develops.
Photograph your own unboxing in natural light to see it the way a customer would.
Growing · 100 to 2,499 units
Move to a printed mailer box or printed tissue for your best-selling products. Write a short packing guide with photos, so every order looks the same.
Try this: add a small card asking customers to share their unboxing, and see what comes back.
Enterprise · 2,500 units and more
Specify the unboxing in your packaging specification: box, tissue, inserts, cards and the order they go in. Test changes on a small batch before rolling them out.
At volume, every extra layer adds packing time. Keep the touches customers value most.
Common mistakes
- 1Too much filler. Loose fill everywhere hides the product and makes a mess. A better-fitting box looks more premium.
- 2Forgetting protection. A beautiful unboxing still has to survive the courier.
- 3Inconsistent packing. If every order looks different, the experience feels accidental. Write it down.
- 4Overspending on extras. A few well-chosen touches beat many small ones.
Unboxing questions
How can I make my packaging feel premium on a budget?
What's the minimum for a printed mailer box?
What is the minimum for custom tissue paper?
Should I print inside the box?
How do I keep packing fast with a better unboxing?
From our customers
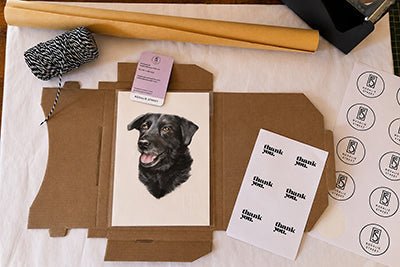
Rosalie Street ArtEach artwork is placed in a protective sleeve, wrapped in white tissue, sealed with a logo sticker and sent in a white mailing box.
Read their story →Keep reading
Build your unboxing
Want help designing your unboxing?
Tell us what you sell and your budget. Our Melbourne team will suggest the box and finishing touches, usually within 1 business day.