


Guide / Printing / Chapter 4.9
Printing inside the box.
The inside of the box is the first thing your customer sees when they open it. Here's how inside printing works, which boxes it suits and how to make the most of it.
The short answer
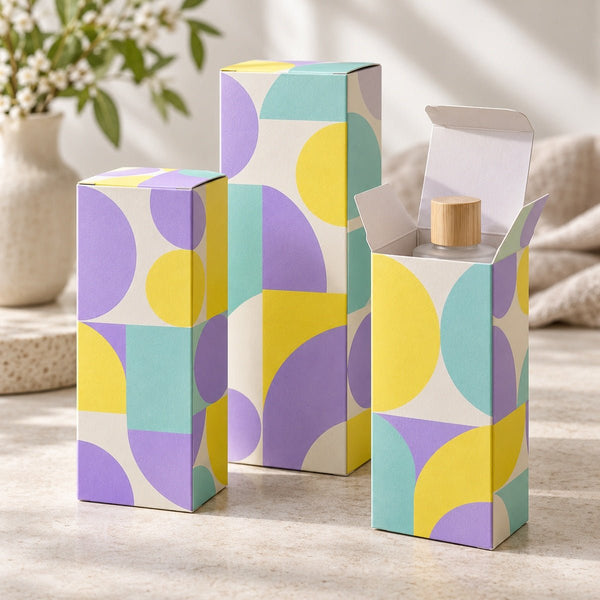
Inside printing puts colour, a pattern or a message on the inside panels of the box, so opening it becomes part of the experience. We print paperboard boxes inside and outside using offset printing, from 250 units, with a lead time of 10–15 business days. We don't print inside corrugated mailer boxes. For other boxes, tissue paper, a printed card or a sticker inside are simple ways to brand the inside without a custom run.
Why print inside?
When a customer lifts the lid, the inside is the first thing they see. A colour, a pattern or a short message makes that moment feel considered, and it's often the part people photograph and share.
Inside printing also lets you keep the outside simple. A plain or minimal outside with a bright inside can look both professional and surprising.
Ideas for the inside
- A brand colour or pattern that fills the inside panels.
- A thank-you message on the inside of the lid.
- How to use the product, care instructions or a QR code to a video.
- Social handles or a hashtag to encourage sharing.
- A repeat of your logo for a subtle finish.
Ways to brand the inside
| Option | How it works | Minimum |
|---|---|---|
| Printed inside (paperboard boxes) | Offset printed inside and outside | From 250 units |
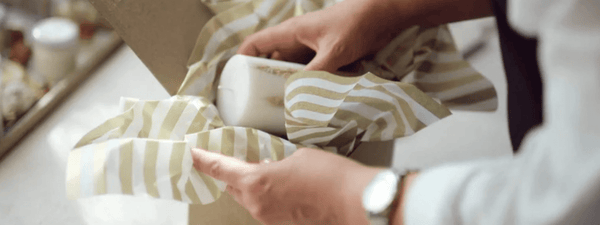
| Custom printed tissue | A repeated logo or pattern (about 20% coverage) on tissue that wraps the product | From 250 sheets |
| Printed cards | A card with a message or instructions | Ask us |
| Custom stickers | A sticker sealing the tissue or on the lid | From 100 |
Designing for inside printing
Plan which panels are seen
Not every inside panel is visible when the box is open. Focus your design on the inside of the lid and the panel facing the customer.
Design the dieline both ways
Inside printing is set up on the reverse of the flat box, so panels can appear mirrored compared with the outside. Our proof shows both sides, so check where each element ends up.
Use the paperboard template's 10mm safe zone
On our offset paperboard templates, keep text and logos 10mm inside the cut and fold lines, inside as well as outside.
What it means for you
The same question, answered for where your business is today.
Choose your stage at the top of the page to open the advice for you.
Start-up · under 100 units
Printed inside boxes start from 250 units, and custom tissue starts from 250 sheets, so a custom sticker and a card are the lowest-cost way to brand the inside of a stock box.
A handwritten-style thank-you card can feel more personal than print.
Growing · 100 to 2,499 units
When you move to custom paperboard boxes, adding inside print is often a small step for a big effect.
Try this: put your message on the inside of the lid, where it's seen first.
Enterprise · 2,500 units and more
Specify inside and outside artwork separately in your packaging specification, so every run matches.
Use the inside for information that would otherwise need a separate insert.
Common mistakes
- 1Designing panels that aren't seen. Focus on the inside of the lid and the front panel.
- 2Mirrored layouts. Inside panels can sit differently from the outside. Check the proof.
- 3Too much text. A short message works better than a paragraph.
- 4Forgetting the product. A busy inside can compete with what's in the box. Let the product shine.
Inside printing questions
Can you print inside boxes?
What's the minimum for inside printing?
How long does it take?
How else can I brand the inside of a box?
What should I print inside?
Keep reading
Brand the inside

Want a box that surprises when it opens?
Tell us about your product and your idea. Our Melbourne team will suggest the best way to brand the inside, usually within 1 business day.